

It is a quick guide to help you proceed smoothly. Ensure hassle-free connectivity and enjoy enhanced cleaning skills with these simple steps. Get your Shark Robot Vacuum connected to your new Wi-Fi spontaneous and keep your home clean with ease.
Preparations for a Smooth Connection
Prepare for a smooth connection by checking your Wi-Fi. Make sure your device is charged. Ensure your phone has a stable internet connection. Disable any VPN or ad-blocking software temporarily. Reset Wi-Fi settings if needed. Follow step-by-step instructions carefully.
Authority the correct Wi-Fi network. Enter the password accurately. Stay patient during the setup process. Double-check all connections. Test the connection after setup. Enjoy the benefits of a seamless connection. Keep troubleshooting tips handy. Stay connected to enjoy hassle-free usage.
READ THIS BLOG: Shark Robot Vacuum Not Connecting To WiFi?
Make sure to follow these easy steps for a smooth connection every time.
Use a Shark Vacuum Without Wi-Fi
A Shark vacuum without Wi-Fi is simple. You don’t need internet access to operate it. Just plug it in and press start. No complicated setup required. Enjoy hassle-free cleaning anytime. Ideal for those without Wi-Fi connectivity. Works seamlessly without relying on internet connection.
No need for app downloads or updates. Perfect for basic cleaning needs. Just turn it on and let it do the job. No need to worry about connectivity issues. Convenient for users in areas with poor Wi-Fi signals. No Wi-Fi? No problem! Your Shark vacuum still gets the job done efficiently.
Simply plug, play, and clean. With or without Wi-Fi, your Shark vacuum delivers superior cleaning performance. Enjoy the simplicity and effectiveness of using a Shark vacuum without Wi-Fi.
Use a Robot Vacuum Without Wi-Fi
No internet connection needed for operation. Simply press the power button to start cleaning. Enjoy hassle-free vacuuming without the need for Wi-Fi setup. Ideal for users in areas with poor Wi-Fi signals. Perfect for basic cleaning tasks without connectivity requirements.
No app downloads or updates necessary. Just plug in and let the robot vacuum do its job. Great for those who prefer simplicity in their cleaning routine. No worries about network connectivity issues. With or without Wi-Fi, your robot vacuum provides efficient cleaning performance.
Whether your tech-savvy or not, using a robot vacuum without Wi-Fi is easy. Experience the convenience of automated cleaning without the complexities of Wi-Fi connectivity. Simplify your cleaning routine with a robot vacuum that works seamlessly even without Wi-Fi.
Robot Not Connecting to Wi-Fi
If your robot is not connecting to Wi-Fi, troubleshooting is essential. Check your internet connection first. Ensure your robot is within range of the Wi-Fi signal. Restart both the robot and your Wi-Fi router. Verify the correct Wi-Fi network and password. Make sure your router is set to 2.4 GHz frequency.
Remove any obstacles that may interfere with the signal. Update your robot’s firmware if needed. Reset the robot’s Wi-Fi settings and try again. Contact customer support for further assistance if issues persist. Don’t let connectivity problems disrupt your cleaning routine.
Stay patient and follow these simple steps to get your robot back online. With a few adjustments, you’ll have your robot connected to Wi-Fi in no time. Enjoy the convenience of controlling your robot remotely once the connection is established.
READ THIS BLOG: 6 Proven Ways To Fix Shark Robot Vacuum Mapping Issues
Device Not Connecting to My Wi-Fi
The device is not connecting to your Wi-Fi, there are a few simple steps you can try. First, ensure that your Wi-Fi network is functioning properly. Check if other devices can connect to the same network. Make sure you are entering the correct Wi-Fi password.
Restart your device and Wi-Fi router to refresh the connection. Move your device closer to the router to improve signal strength. Try connecting to a different Wi-Fi network to see if the issue persists. Update the firmware or software of your device if available.
It is reset your device’s network settings and try reconnecting to Wi-Fi. If all else fails, contact your internet service provider for further assistance. Don’t let connectivity issues hold you back from enjoying the full functionality of your device.
Follow these troubleshooting steps to get connected quickly and easily.
- Check your Wi-Fi signal strength and ensure it’s strong.
- Verify that you’ve entered the correct Wi-Fi network name and password.
- Restart both your device and Wi-Fi router.
- Move closer to the router to improve connectivity.
- Reset your device’s network settings and try connecting again.
Ensuring a Strong Foundation
Is to ensure a strong foundation, start by checking your basics. Verify your internet connection is stable. Make sure all devices are fully charged. Double-check for any software that might interfere.

Ensure your settings are reset if necessary. Triple-check your connections before proceeding. Stay patient throughout the process. With a solid foundation, you’re set for success.
Follow each step meticulously.
Check Your Phone’s Wi-Fi
Believe your phone’s Wi-Fi is turned on. Open your phone’s settings. Tap on “Wi-Fi” to access the network settings. Look for available Wi-Fi networks. Check if your desired network is listed. Connect to the network by tapping on it. Enter the network password if prompted.
Wait for the connection to be established. Once connected, you’re ready to go. Enjoy seamless internet access on your phone. Remember to check your phone’s Wi-Fi whenever you need to connect to the internet.
Disable VPN or Adblocker Software
A disable VPN or adblocker software, locate the app on your device. Open the app settings or preferences. Look for the option to disable or turn off the VPN or adblocking feature. Toggle the switch to deactivate the software. Confirm any prompts that appear.

Once disabled, you can proceed with your desired activities without interference. Remember to re-enable the software when needed for privacy or security reasons. Enjoy uninterrupted browsing and connectivity by disabling VPN or adblocker software as necessary.
Resetting Wi-Fi Settings
Resetting Wi-Fi settings is a simple process. Go to your device’s settings menu. Navigate to the Wi-Fi section. Find the option to reset network settings. Tap on it to initiate the reset. Confirm your decision if prompted. Wait for the reset process to complete.
Once done, your Wi-Fi settings will be restored to default. This can resolve connectivity issues and refresh network configurations. Remember to reconnect to your Wi-Fi network after resetting settings.
Step-by-Step Guide for iOS Users
Follow this step-by-step guide for iOS users. Learn how to navigate the setup process easily. Get your Shark robot connected to Wi-Fi in no time.
Mastering the iOS Connection

Mastering the iOS connection is straightforward with our guide. Learn how to connect your device seamlessly. Get ready to enjoy all the features of your iOS device effortlessly.
Download the Shark Clean App
Download the Shark Clean App for easy control of your Shark devices. Visit your app store on iOS or Android. Search for “Shark Clean” and tap to download. Install the app on your device. Create an account or log in if you have one.
Access advanced features like scheduling and customization. Enjoy seamless control of your Shark devices from your smartphone. Ensure efficient cleaning with the Shark Clean App at your fingertips.
Create an Account
Creating an account is quick and easy. Click on the “Sign Up” or “Create Account” button. Enter your email address and choose a password. Verify your email by clicking on the link sent to your inbox. Fill in your personal details if required.
Complete the registration process by following the prompts. Gain access to exclusive features and personalized settings. Enjoy a seamless experience with your newly created account. Stay connected and unlock the full potential of your device.
Activate the Robot’s Wi-Fi
Activate the robot’s Wi-Fi to start the setup process. Press and hold the designated buttons on the robot. Look for the Wi-Fi indicator to start blinking. This indicates that the robot is in Wi-Fi mode. Once activated, the robot is ready to connect to your network.
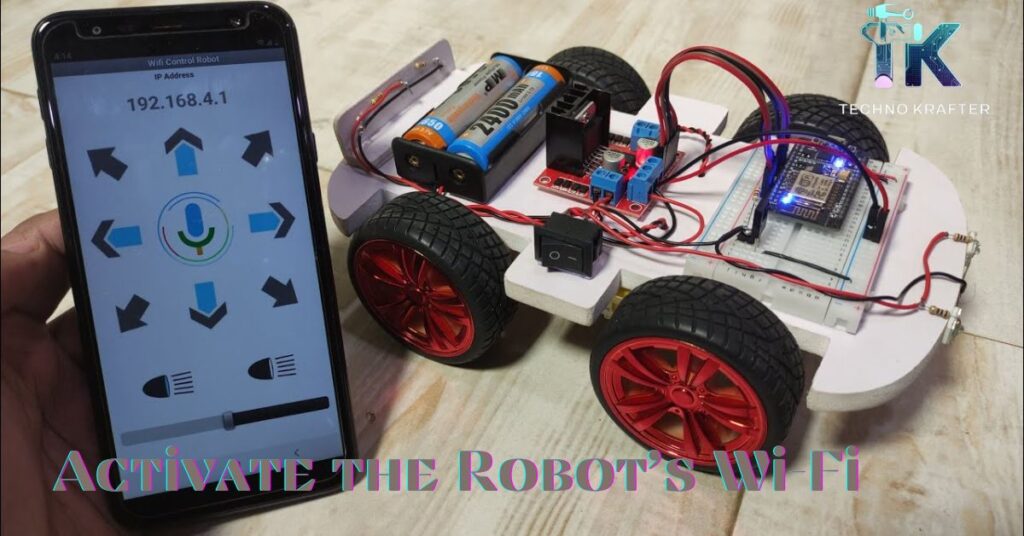
A stable connection for seamless operation. Enjoy the convenience of controlling your robot remotely. Keep your robot connected to Wi-Fi for optimal performance.
Select Your Robot
Select your robot from the list provided. Choose the specific model you own. Tap on the corresponding option to proceed. Ensure you’re selecting the correct device for setup. Double-check the model’s name for accuracy. Confirm your selection before moving forward.
Follow the on-screen instructions carefully. Complete this step to continue with the setup process. Enjoy personalized control and features tailored to your specific Shark robot model.
READ THIS BLOG: How To Fix The Shark Vacuum Not Turning On?
Connect to Wi-Fi
Connect to Wi-Fi effortlessly for seamless device operation. Open your device’s settings menu. Tap on “Wi-Fi” to view available networks. Select your desired Wi-Fi network from the list. Enter the network password if prompted. Wait for your device to establish a connection.
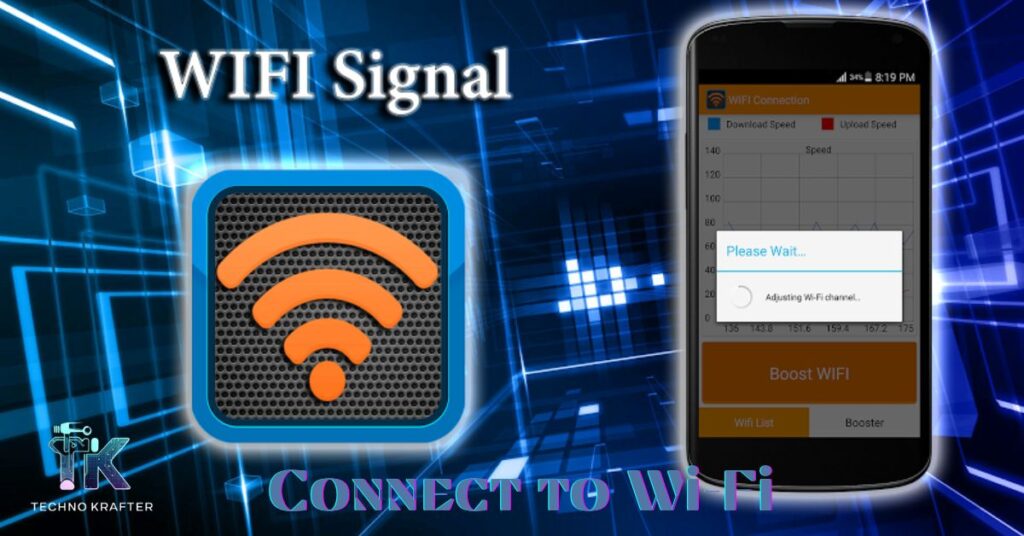
Once connected, enjoy uninterrupted internet access. Ensure a stable connection for optimal performance. Stay connected to Wi-Fi for convenient browsing, streaming, and more. Keep your device connected to Wi-Fi for a smooth user experience.
Step-by-Step Guide for Android Users
Learn how to set up your Shark device effortlessly. Get your Shark vacuum connected to Wi-Fi quickly and efficiently.
Navigating the Android Connection
Navigate the Android connection effortlessly. Get your Shark vacuum set up quickly and easily on your Android device.

Follow these simple steps to connect your device.
Download the Shark Clean App
Download the Shark Clean App for convenient control. Simply visit your app store. Search for “Shark Clean” and tap to download. Install the app on your device to get started. Enjoy effortless management of your Shark devices with just a few taps.
Create an Account
Creating an account is simple and straightforward. Just click on the “Sign Up” button. Enter your email and choose a password. Confirm your email to complete the process. Enjoy access to exclusive features and personalized content with your newly created account.
Activate the Robot’s Wi-Fi
Activate your robot’s Wi-Fi effortlessly. Simply press and hold designated buttons. Watch for the Wi-Fi indicator to start blinking. Your robot is now ready to connect. Enjoy seamless connectivity for efficient cleaning.
Final Words
Shark robot vacuum is not connecting to a new Wi-Fi network, follow these simple steps for a smooth transition. Begin by preparing your device and ensuring it’s fully charged. Check your phone’s Wi-Fi settings to ensure a stable connection. Temporarily disable any VPN or ad-blocking software that may interfere with the setup process.
It is a necessary, reset the Wi-Fi settings on your robot vacuum to clear previous configurations. Proceed by following the step-by-step instructions provided for iOS or Android users, depending on your device. Once connected, enjoy the convenience of controlling your robot vacuum remotely and effortlessly keeping your home clean.
If issues persist, refer to troubleshooting tips and reach out to customer support for further assistance. With patience and attention to detail, you’ll have your Shark robot vacuum connected to your new Wi-Fi network in no time, ensuring hassle-free cleaning experiences.
Frequently Asked Question
How do I start the connection process?
Simply activate your robot’s Wi-Fi mode and follow the step-by-step instructions provided in the user manual or app.
What should I do if my robot is not connecting?
Ensure your device is within range of the Wi-Fi signal and double-check the Wi-Fi settings on both your device and robot.
How do I select the correct Wi-Fi network?
Access your device’s Wi-Fi settings, choose the desired network from the list, and enter the correct password when prompted.
What if I encounter issues during setup?
Restart both your robot and Wi-Fi router, verify the Wi-Fi network settings, and ensure a stable internet connection before retrying.
Can I get assistance if I’m still having trouble?
Yes, feel free to contact customer support for further assistance and troubleshooting guidance.

Charlis, with 6 years of experience, is a seasoned writer at Techno Krafter. He crafts engaging content with a knack for simplifying complex concepts, enriching readers’ understanding across various tech domains.